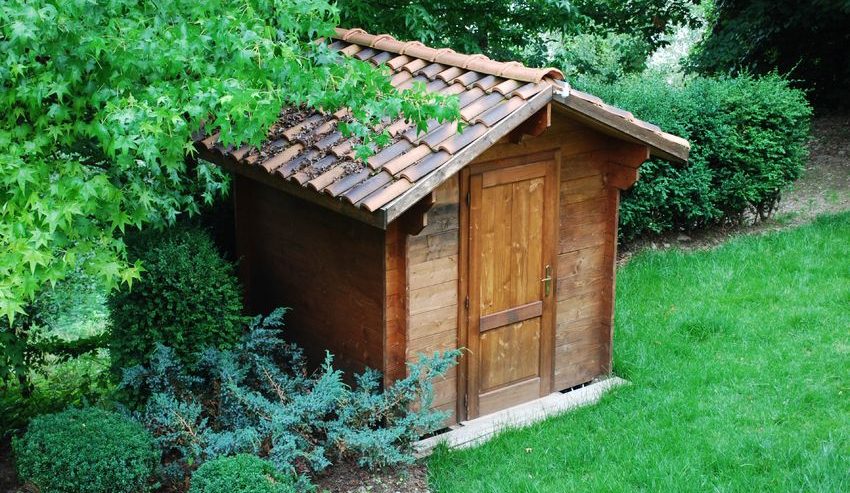
DIY Tips: How to Build a Shed Roof
Many people look at their disorganized garage and wish they could park their car in there again. Often, the solution to this problem is to create a shed in the back yard. Putting together a shed is not a complicated process, but the trickiest part is erecting the roof. Fortunately, building this part is not as tough as it seems. Here is a breakdown of how to build a shed roof, and if you do run into problems, how a professional roofing contractor can step in to help.
Build a Shed Roof
When the time comes to build a shed roof for your tool or utility shed, you have several options. The first is to work with a kit, which will usually provide detailed instructions you can follow. The second is to hire a professional roofing contractor like those available through ServiceWhale. The third is to do it entirely on your own, and that is what we will look at here.
Height and Pitch
The first thing you need to do is determine the height and pitch of your roof. This requires some geometry knowledge to work out how tall and at what slope you want to create your roof. It also depends on the overall interior and frame size of the shed. Smaller sheds require higher roofs to have a steeper slope, for example. An average roof has a pitch of 4 to 12.
Support Braces
You will want to create a temporary frame made up of three 2×4 planks to hold your new roof temporarily in place while you engage in construction. The middle piece is 3 inches shorter than the outer two, as it will hold the ridge beam. Attach this 2×8 ridge beam to the support brace.
as you know...
Rafters
Your rafters are constructed of 2×4 boards. You will need to space these rafters 16 inches apart for ideal support. Each should be 12 inches longer than your ridge. Slot each rafter at the point where it meets the wall so that it can sit firmly atop the shed. Each end and each side need such a notch seating. Rafters are attached at the ridge and exterior wall points.
Studs and Covering
Now that your frame is in place install stud points at each end of the roof, and use wall covering over the studs. Next, choose the appropriate roof sheathing, whether it is wood, metal, fiberglass or plywood, and install 2×4 purloins between the rafters, and cut your decking or sheathing to fit, attaching it to each purloin.
Fascia and Shingles
Attach fascia boards at each side of the structure, and then, if necessary, apply shingles or other roofing material to your sheathing. Congratulations; your new roof is complete!
If the process still seems confusing to you, fear not! You might be able to save money and stress by using ServiceWhale’s fast, simple and fun method for finding the perfect roofing contractor for all of your renovation and new construction needs. Check out our website for more information and get started today!


Comments
Comments are disabled for this post