DIY: How to Install the AC Coil
During the hottest days of summer, your air conditioner keeps your home cool and comfortable. If you start noticing problems with your air conditioner, the most likely culprit is your system’s condenser coils. The condenser coil, also known as an evaporator coil, is the central part in a network of ducts that cools the warm air circulating within the air conditioner.
Freon gas is the main cooling agent in the air conditioning system. When it starts to get low, it can cause your condenser coil to leak and make it difficult for your unit to cool your home the way you need. If problems with your condenser coil are left unaddressed, it can lead to even bigger problems that may require a condenser coil replacement to stop the leak. Before you try to replace your coil, it can be helpful to examine the steps of the process.
Discover the steps involved in replacing a condenser coil in your air conditioning unit and find out why this part is so crucial to the health of your system.
Check the Coil
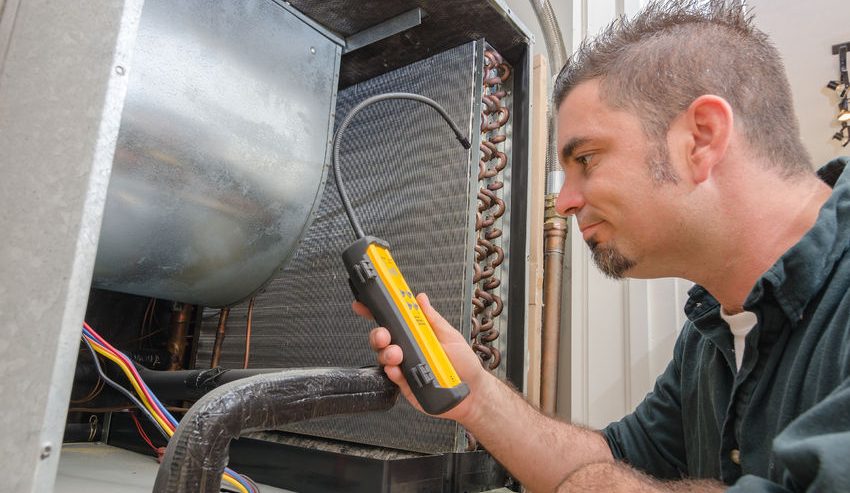
The first thing to do when something is wrong with your air conditioner is to look for leaks around the unit, which is often an indicator of a problem with your condenser coil. You should be able to tell if your condenser coil is leaking if you see fluid dripping from the air conditioner. Once a leak is detected, you should closely examine the coil itself for any problems. Look closely cracks or any other signs of damages to the coil. If the coil is cracked, it is beyond repair and must be replaced.
Removing the Coil
The first step in replacing your condenser coil is removing the old, damaged part. To properly remove the coil, you must go into the air conditioning system and cut the inbound and exit tubes. During this process, some of the Freon gas will leak so it’s important that you are very, very careful. Additionally, Freon is a toxic gas, which means it must be disposed of properly. If you’re unsure of how to dispose of your old Freon, make sure to consult an expert.
Replace the Coil
After the damaged coil has been removed and the Freon gas is disposed of, you can begin installing the new condenser coils. First, the coils need to be infused into the system ports. Once that is complete, you must use silver solder to keep the coils in place. A torch is necessary to solder the coils in place, so be sure to use the proper safety equipment to protect yourself. Also, remember to disconnect the air conditioner from any power source to avoid an electrical fire.
The drain pan may also need to be replaced during this process so check your drain pan to make sure it is working properly.
The Coolant
Before your replacement job is complete, you’ll need to address the coolant within your air conditioning system. Virtually every expert you consult will recommend using a vacuum to remove air from the tubes and to stabilize coolant levels. Coolant will need to be replaced if it is not operating at the appropriate levels.
Using the Air Conditioner
Lastly, with the coil replaced and the coolant checked, you need to make sure your system is functioning properly. Test the air conditioner by reconnecting it to the power source and turning it back on. If it starts, great, you’ve successfully replaced your condenser coil! However, if your air conditioner is not starting, you may need to do further inspection of the conditioning system.
Out of all the problems you may have with our air conditioner, the most common is a problem with your condenser coil. Fortunately, with the right knowledge and a little effort, replacing a condenser coil is fairly simple, meaning your home wills stay comfortable all year long.


Comments
Leave a Comment