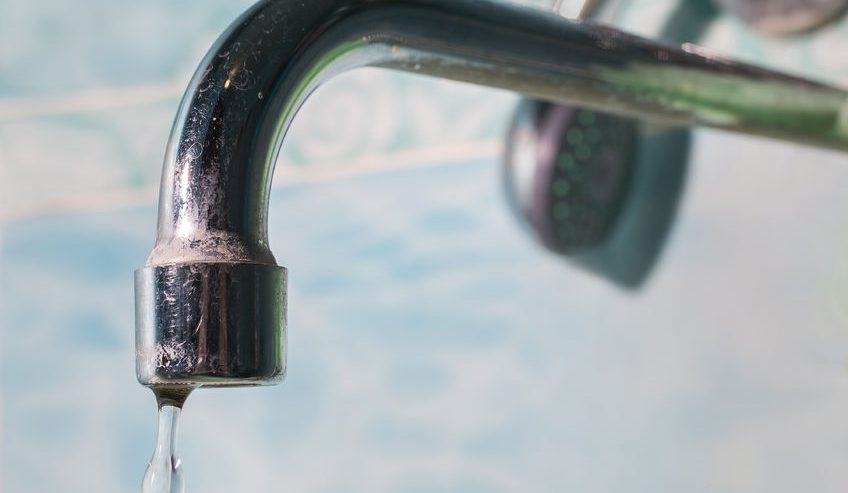
DIY: How to Fix a Leaky Faucet
A slow, steady drip from a leaky faucet doesn’t just mean an annoying noise and a constant puddle in your sink. Even a small faucet leak can waste several gallons of water every day, so it’s important to fix a leaky faucet as soon as you notice that there is a problem. You may want to try this easy DIY project to fix the faucet yourself and we’re here to help – but if that doesn’t work use ServiceWhale to find a professional in your area cheaply and easily today.
Before You Start
Below you get to your sink, there is a set of pipes running up towards the faucet and one or more handles. Turn the handle, or handles, clockwise to cut off the water supply to your faucet. Otherwise, removing parts of the faucet will give you your very own in-house geyser. Lie out all your tools within reach and make sure you have spare parts to replace old parts as you work. Plug the drain with its own plug or a rag so you won’t lose any small parts down the drain. If you are concerned about scratching the faucet, add a few strips of duct tape to the corners and jaws of your wrench. You may also want to have distilled white vinegar and a scouring pad to clean hard-water deposits off the internal workings of the faucet.
Careful Disassembly
As you start to take the faucet apart, lay out each piece in the order you removed it. Go slowly, remembering as accurately as possible how everything fits together. This will help you reassemble the faucet when you are done. Take your time and treat your plumbing carefully: if you rush, you’ll only make the project harder and the problem worse.
There are four common types of faucets, each with its own internal mechanism. If your sink has a hot and cold handle, you have a compression faucet. If you have a single arm or knob in the middle that you turn from hot to cold, you have one of the other three types: a ball faucet, with a ball bearing at the base of the arm or knob; a cartridge faucet, with a small cartridge; or a ceramic disk faucet, with a ceramic cylinder at the heart of the mechanism.
Compression Faucets
Take off any decorative parts of the handles and then unscrew the handles one at a time. Use your wrench to unscrew the nut so you can get at the stem – lift this out to expose the O-ring, and find the rubber seat washer underneath it – normally secured with a screw. A brittle or worn-out seat washer is the most common cause of leaking in a compression faucet. Take the washer to a hardware store to find a replacement; if it is not the faucet itself but the handle that has been leaking, bring the O-ring along and replace it as well.
Ball Faucets
A ball faucet is a little more complicated since it involves a handful of moving parts. You can find a very inexpensive ball faucet cam replacement kit, which will include all the parts and tools to make the repair. These kits typically come with excellent instructions to replace the whole internal assembly. You may need a pair of needle-nose pliers to reach the interior. Remember to coat each O-ring with plumber’s grease before putting it in.
Cartridge Faucets
Unscrew the handle and tilt it back to take it off, then check to see if the faucet has a circular piece of plastic (called the retaining clip) holding the cartridge steady. If so, remove it with pliers and set it aside. Tug on the cartridge so that it is in the same position it would be in if the water were all the way on, and pull out the faucet spout. Use a utility knife to cut off the old O-rings, coat the replacements with plumber’s grease, and put them on the spout.
Ceramic Disk Faucets
Unscrew the handle, remove the metal cap (called an escutcheon cap) just under it, and unscrew the disk cylinder underneath that in order to expose the little neoprene seals on the bottom of the cylinder. Pick out the seals and clean out the whole interior of the cylinder as well as the seals themselves; if you have mineral-heavy water, you should soak them in a dish of white vinegar for a few hours to get rid of any hard-water deposits. Once that is gone, check the seals for fraying, thin or worn spots, or pits in the surface of the seals. Unless they look pristine, you’ll want to take them to a hardware store to find a set of replacements.
When You’re Done
Reassemble your faucet piece by piece, in reverse order from how you took it apart. Screw together any connections by hand first, then use the same tools you removed them with to tighten them up. Turn the water supply to the faucet back on and run the water for a few seconds, then shut it off and check that the leak is gone. If your faucet was a ceramic disk faucet, you should turn the water back on slowly to prevent it from striking and cracking the disk.
If the leak is gone, then you’re done. If you are still having problems with the faucet, use our service request wizard to find a plumber to take a closer look at the mechanism and the pipes – the leak could have a different source, or you may have a more complex problem.


Comments
Comments are disabled for this post