How to Install a Roof Vent
Maintaining proper ventilation in your roof is an important part of roofing maintenance that you need to be aware of as a responsible homeowner. Over time, improper airflow can lead to the buildup of moisture in your roof. This can eventually become a leak issue or promote mold and mildew growth that could cause serious structural damage. You should therefore always stay on top of your roofing maintenance and ventilation, and if you need to learn how to install a roof vent, ServiceWhale can help.
Prepare Your Roof
ServiceWhale always recommends taking appropriate safety precautions before installing a roof vent. This includes making sure your roof is easily accessible and that you are wearing the proper work clothes and footwear. You also will need to check with your local government office to see if you first need permission to install a roof vent.
Choose the Location
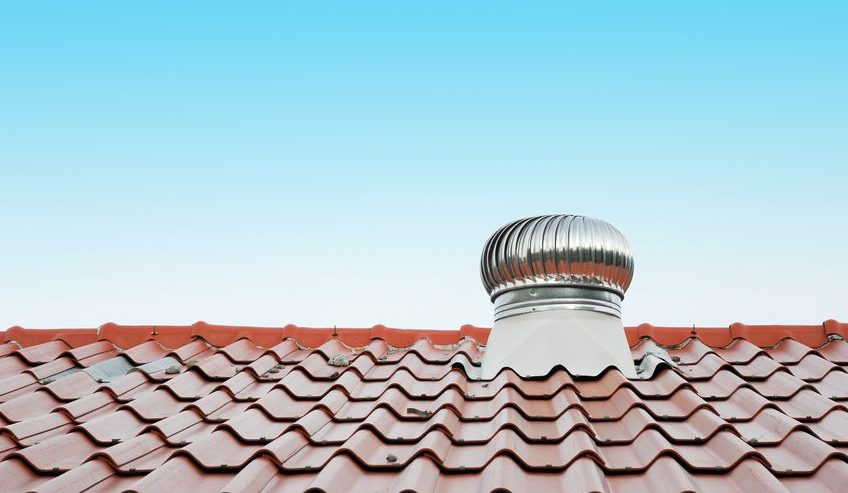
When safety measures have been taken, it is time to find the future location of your roof vent. Usually, the top of the roof is the best place, especially to extract roof heat in the summers, and once you have settled on the exact spot, you will need to remove two side-by-side tiles to install your flashing.
Install the Flashing
In the spot where you removed the tiles, you will want to slide your flashing into the space and use a mallet to tap it gently down so that it conforms to the profile of the tiles. You should also roll up the front edges of the flashing to form a lip to protect against water.
Your roof vent will often come with a strap, and you can secure your flashing by attaching this strap to the roof batten beneath the flashing itself. If the strap is not attached to the batten, the roof vent will not sit center of the flashing, which can lead to potential damages down the line.
Install the Roof Vent
Now you can take your roof vent and place it directly atop the flashing. You should then use a cordless drill to screw the vent into the flashing. Next, you will want to angle the vent to its optimal position, which can be determined by looking at the vent from all angles and choosing the position that sits it as flat as possible. At this point, use your cordless drill again to secure the roof vent into position.
Once your roof vent has been successfully installed, you should clear away all of your working materials, including removed tiles.
Hire a ServiceWhale Contractor Instead
As far as home improvement projects go, installing a roof vent is not one of the more complicated tasks, but if you are pressed for time or are otherwise a non-professional, it may just be better to hire a ServiceWhale contractor to handle your installation instead. If nothing else, this could save you plenty of time.
So for any further questions on how to install a roof vent or to look into the many other services our contractors provide, get in touch with a representative at ServiceWhale today to see what we can do for you.


Comments
Comments are disabled for this post