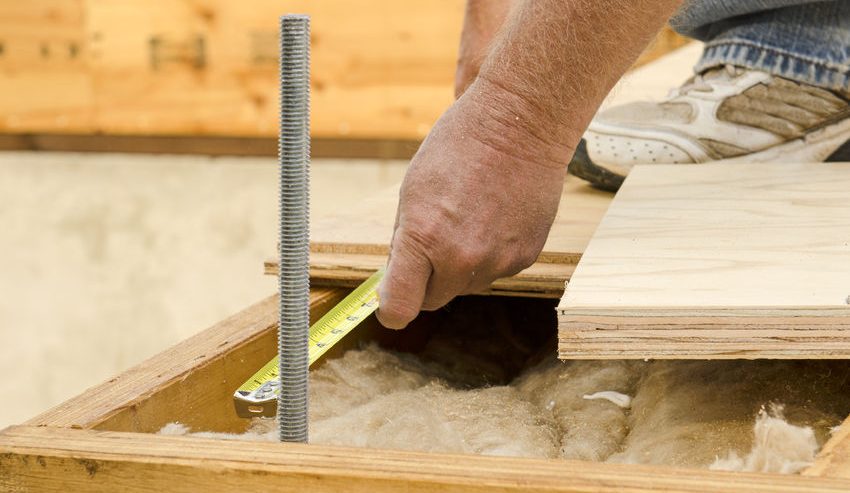
Solid Subfloor 101: Installation Cost and Prep
Solid subflooring serves as the foundation of the flooring of your home, adding an additional level of protection and ensuring functionality for years to come. Unfortunately, very few homeowners are familiar with everything that goes into installing a quality solid subfloor. Because the subfloor is so important to the overall health of your home’s flooring, it’s important that you learn how to prepare for an installation so that your project is successful.
As with any project, preparing for your subfloor installation will make the process much more rewarding and stress-free. Learn some of the most important tasks to help you plan for your subfloor installation to make sure your project goes as smoothly as possible.
Know Your Flooring
Your first step in planning for your sub flooring installation will be to choose exactly what type of flooring your subfloor will need to support. Not every subfloor type is suitable for all flooring, and if you pick the wrong type of subfloor, then you might not get the longevity and performance level that you need.
For example, if you’re installing a wooden floor in your home, then you will want a thicker plywood subfloor that is close to ¾” thick. Carefully matching your subfloor to your desired flooring type will serve to make your project much easier and will ensure the long-term viability of your flooring.
Examine the Costs
The most important part of preparing for any home improvement project, including installing subflooring, it understanding the costs involved. Without a basic understanding of the possible costs, your subflooring project can end up being a lot more stressful than it needs to be.
For example, for the materials you’ll need to complete a subflooring project of 129 square feet, you can expect to pay between $368.15 and $418.80. However, labor costs for a subflooring project tend to be much higher, costing between $617.74 and $1,504.39 for about 20 hours’ worth of work. Whether you’re installing a subfloor for hardwood flooring or carpet, knowing your costs will make sure you get the most out of your project.
Choose Your Sub-Flooring and Gather Your Tools
Once you’ve chosen the type of subflooring that you’re going to install in your home, you must now gather your tools so that you’re ready for your installation. Without the right tools for the job, you’ll have no shot at completing your subfloor installation successfully.
The great thing about installing a subfloor is that the tools and materials you will need are minimal, making your project that much easier. Before you begin your installation, you will need a trowel, a large brush, a strong adhesive, sanding tools and protective gear like knee pads and eye goggles.
If you have your tools and materials ready, you can begin the final preparation step.
Prepare Your Joists
Whatever sub flooring type that you’ve chosen, it will be installed on the floor joists in your home. Just as your subflooring provides the base for your flooring, the joists provide the base for your subfloor.
First, you need to make sure that your floor joists are level and smooth. Take your sanding tool, and work on your joists until they are completely smooth. With your joists level, you can lay down your adhesive. Using your trowel and brush, you must now apply an even layer of your adhesive to your floor joists, making sure there is enough to secure your subflooring material effectively.
Upon completing your joist preparation, you will now be able to install your subflooring.
Plan for a Subfloor Installation to Increase Success
Installing a subfloor is one of the most important things that you can do to make sure that the flooring in your home lasts as long as possible. As we have seen, however, before you can install your subfloor, you need to prepare in the proper manner. Preparing for a subfloor installation is the key in successfully finishing your project and protecting your future floor.


Comments
Comments are disabled for this post