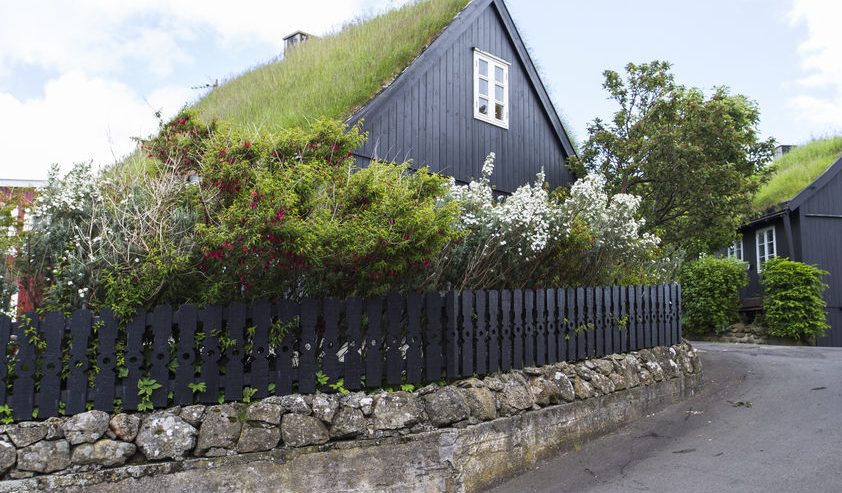
How to Build a Green Roof System
In recent years, one of the hottest trends for homeowners across the country is constructing green roofs. A green roof provides many benefits both to you as a homeowner and to the surrounding environment. Properly built, a green roof protects your home from outside forces, and functions as a great insulator for your house. Green roof systems can keep your house warmer in the winter and anywhere from five to nine degrees cooler in the summertime.
These wonderful perks will line your pockets by helping you save on utility bills throughout the year, not to mention the fact that you’ll be doing your part to protect the environment. If you’re considering installing a green roof on your home, here a few tips to help make the process as easy, fun and affordable as possible.
Steps to Build
Like any home improvement project, there are a few steps that go into building a green roof system that you should be aware of before getting started. Once these steps are completed, you’ll be well on your way to installing a green roof, saving on your utilities and achieving your goal of helping the environment.
- Prepare the Roof
The first step in this project is preparing the roof itself. For a successful installation, the roof has to have a slant or a pitch before you can begin placing any plants. Typically, a great deal of pressure will be added to your roof throughout this process, so it’s important to make sure that your roof is structurally secure enough to hold the weight from the plants. A good idea is to have roof examined by a green roof system expert before your proceed with the rest of the installation project.
- Add and Connect Trays
Once you have completed your roof preparation, the next step will be for the trays of plants to be added and properly connected. To make the plant placement easier, it’s best to start in a corner and slowly work your way in row by row. This systematic approach ensures that everything is installed in the proper time frame and that too much pressure is not added to your roof too quickly. Make sure the trays fit properly the first time so you won’t have to continuously walk over the plants and destroy your hard work. Sketching out the placement of the trays before you begin installation is a great way to avoid placing them incorrectly and causing yourself a great deal of trouble later on.
- Water Your Plants
After the roof has been prepared and your plants have been placed to your liking, it is time to add water to the plants so that the soil can settle and the plants can grow. An upside to keeping plants on your roof is that they don’t require constant care, such as being watered regularly—unless, of course, there is an extended period of hot and dry weather. Additionally, having access to direct sunlight will allow your plants to thrive in a way that may not be possible in an enclosed environment.
After installing a green roof and giving your plants time to flourish, your environmentally friendly roof will be the envy of the neighborhood. Enjoy!


Comments
Comments are disabled for this post